"Whiten My Teeth, Please"

|

|
My goal was to make bring out this man's true beauty so he could have a profile picture on Facebook that he is proud of. First things first: I adjusted the white balance. Next, I brought down the contrast of the photo to remove his rosy cheeks. I also brought down the clarity slightly to create the effect of smoother skin. Nobody likes yellow teeth, so using the adjustment brush, I brought down the saturation of his teeth to make them whiter. Then using the spot removal brush, I covered up his blemishes and erased select wrinkles, to keep him young looking. I burned his iris (OUCH!) and the darks around his pupil, as well as his eyelashes to make them stand out more. His new profile photo got 7 likes... a new record!
Barcelona, I Love You.
|
|
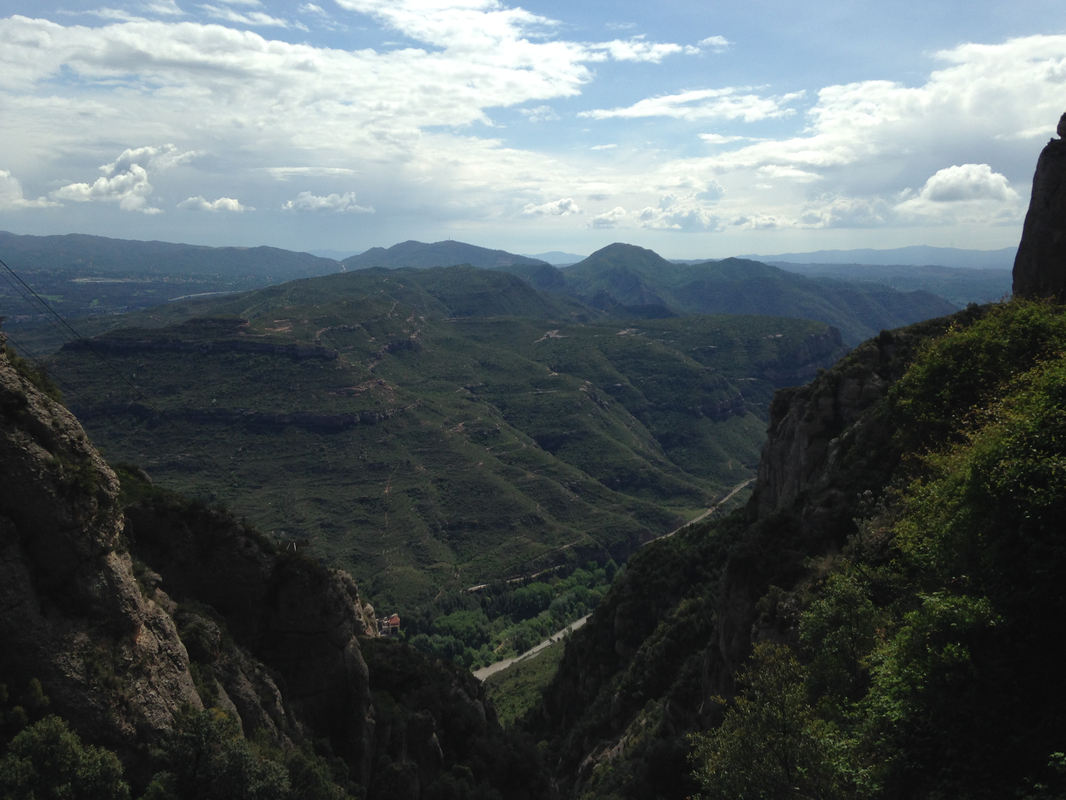
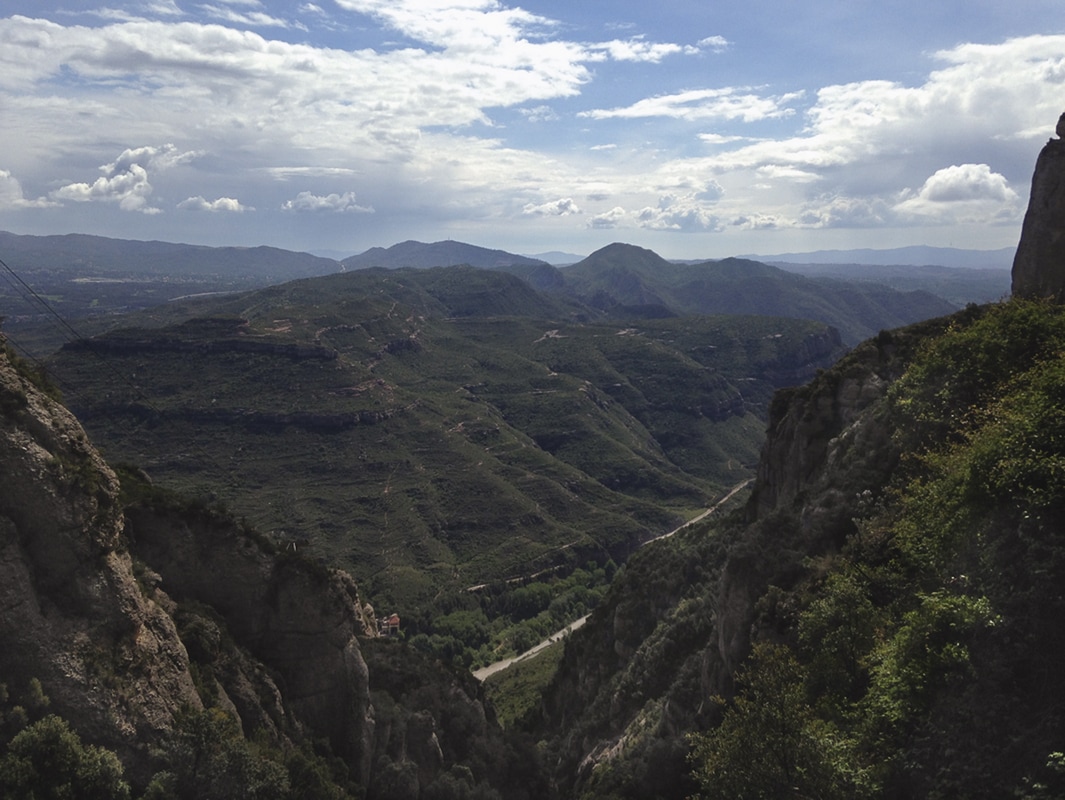
Barcelona... beautiful. The first step in editing was correcting the white balance. Next, the shadows were dark in the original photo, so I used the adjustment brush to bring out the detail and increase clarity in the dark areas. I made the temperature of the sky cooler to bring out the blue and brought down the highlights to show all the clouds. I am typically drawn to cooler tones in photos, so I decided to preserve them in this photo. I alsos used the dodge brush to accentuate the highlights in areas I thought could use it.
New Hair, New Me
Before |
After |
|
|
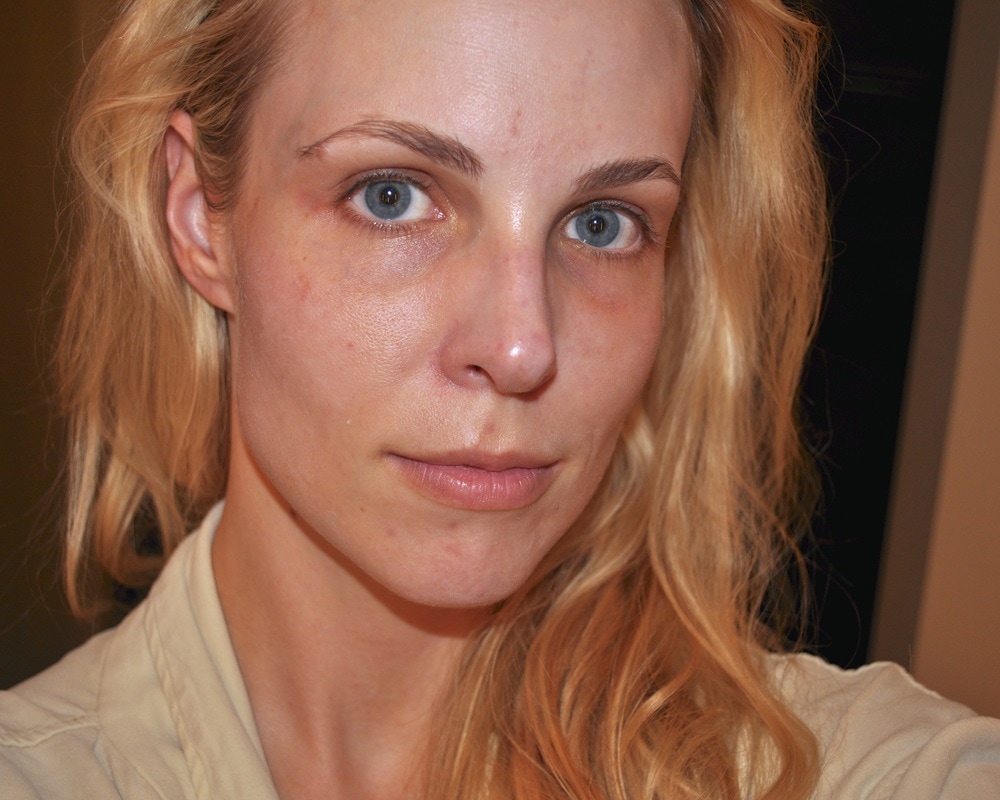
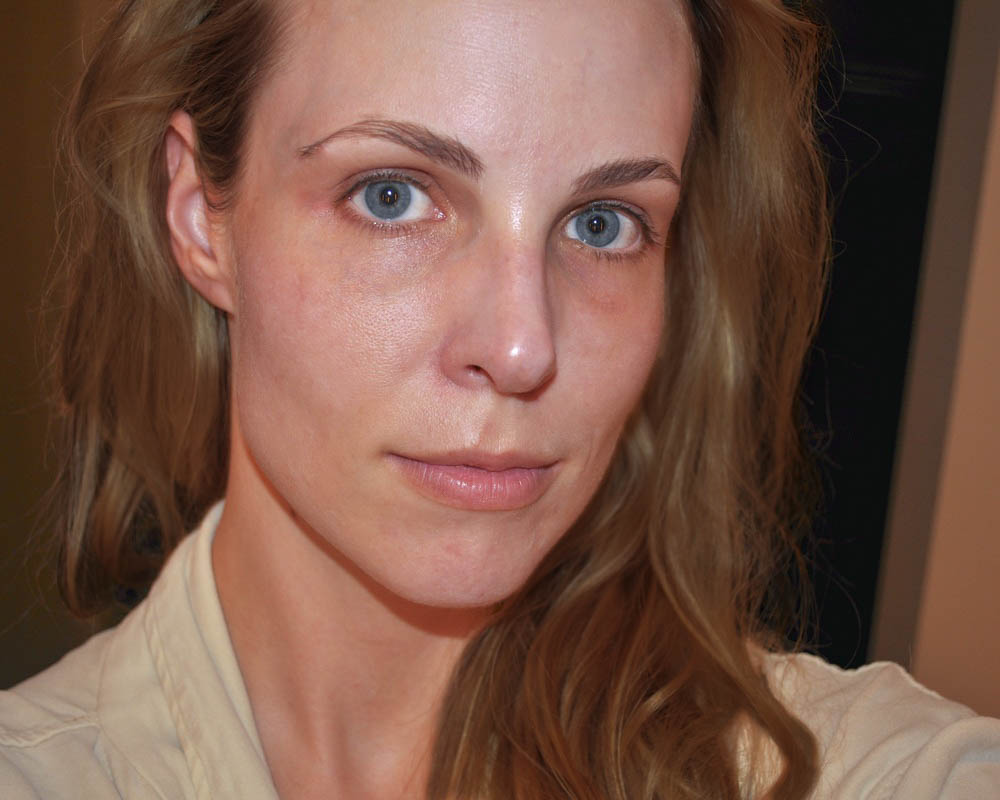
First I corrected the white balance and decreased the highlights. Then I used the spot removal brush to remove blemishes on her face. I used the adjustment brush to burn her iris, eyelashes, and eyebrows to make them stand out. Next, I used the same tool to adjust the temperature and decrease the saturation of the areas below her eyes, in attempts to remove the look of tired eyes. Finally, I overlayed her hair and decreased the exposure of it to make her a brunette.
Pinwheel Polly
These photos were taken using an online camera simulator.
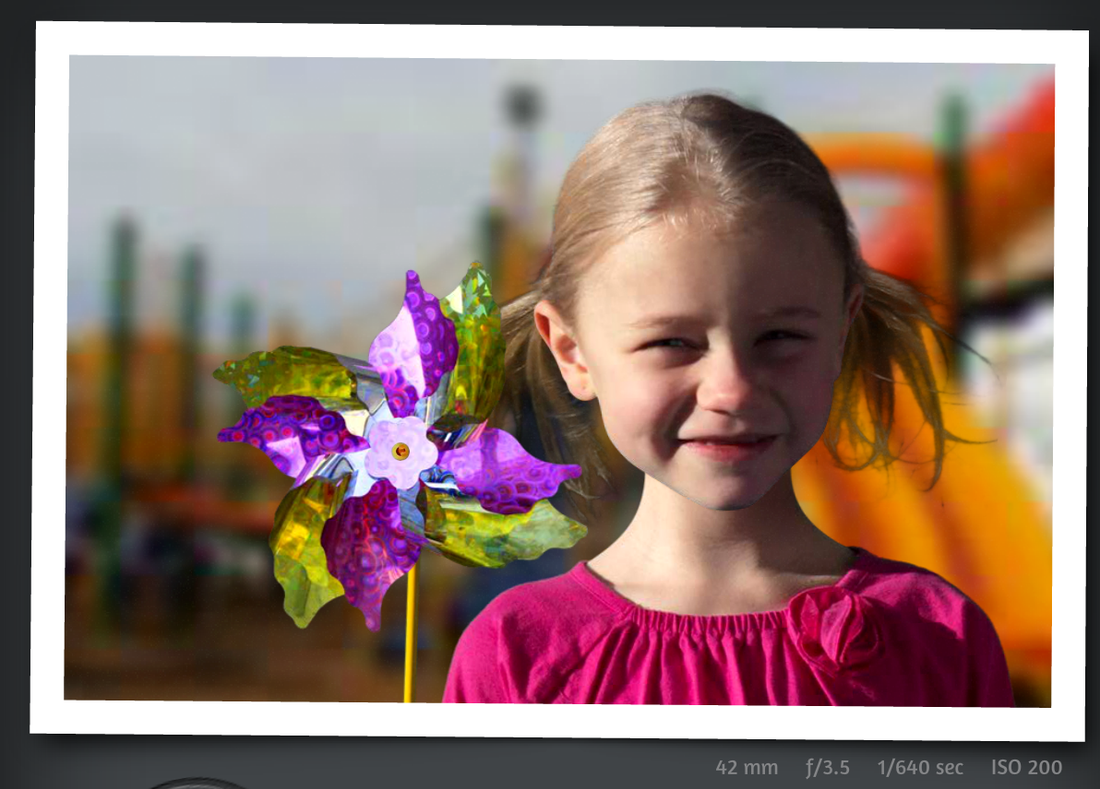
Here we have Polly up nice and close to the camera. The background is soft and blurry because the photo was shot with a wide aperture. The shutter speed was increased in order to properly expose the photo. ISO = 200.
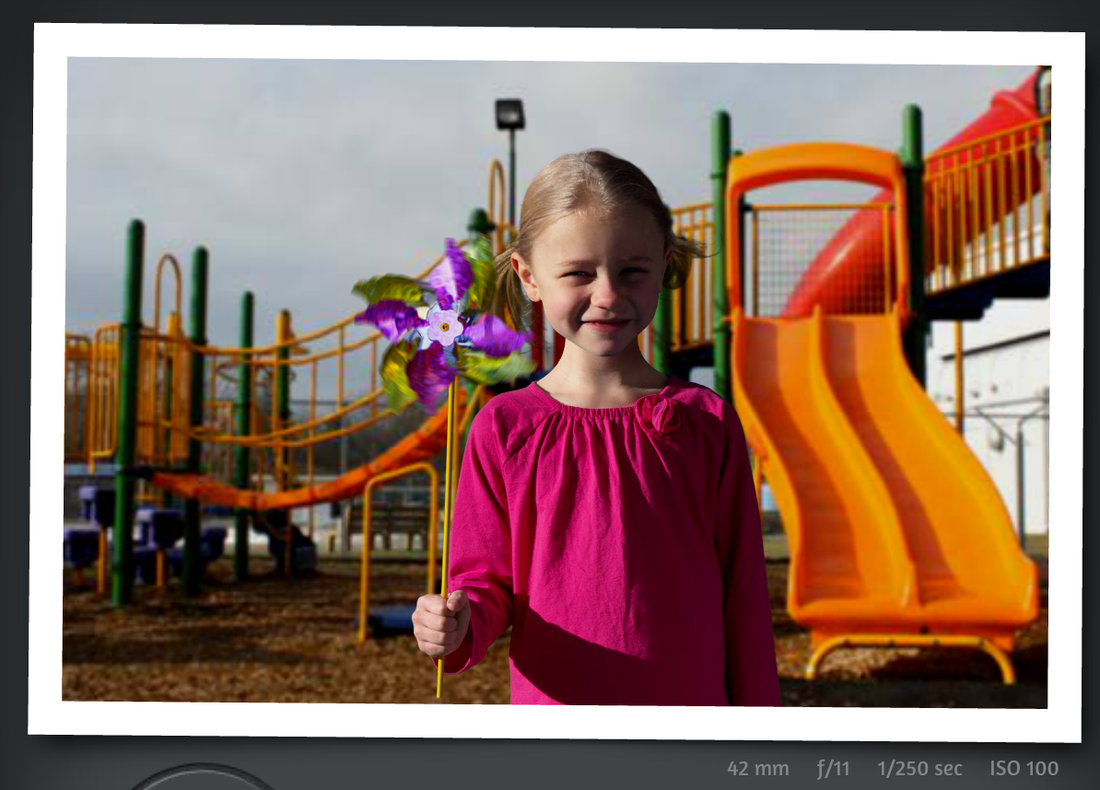
"Get the playground in the picture," said Polly. A narrower aperture, f-11, was used to bring the background more into focus. The shutter speed had to be decreased to expose properly. ISO=100.
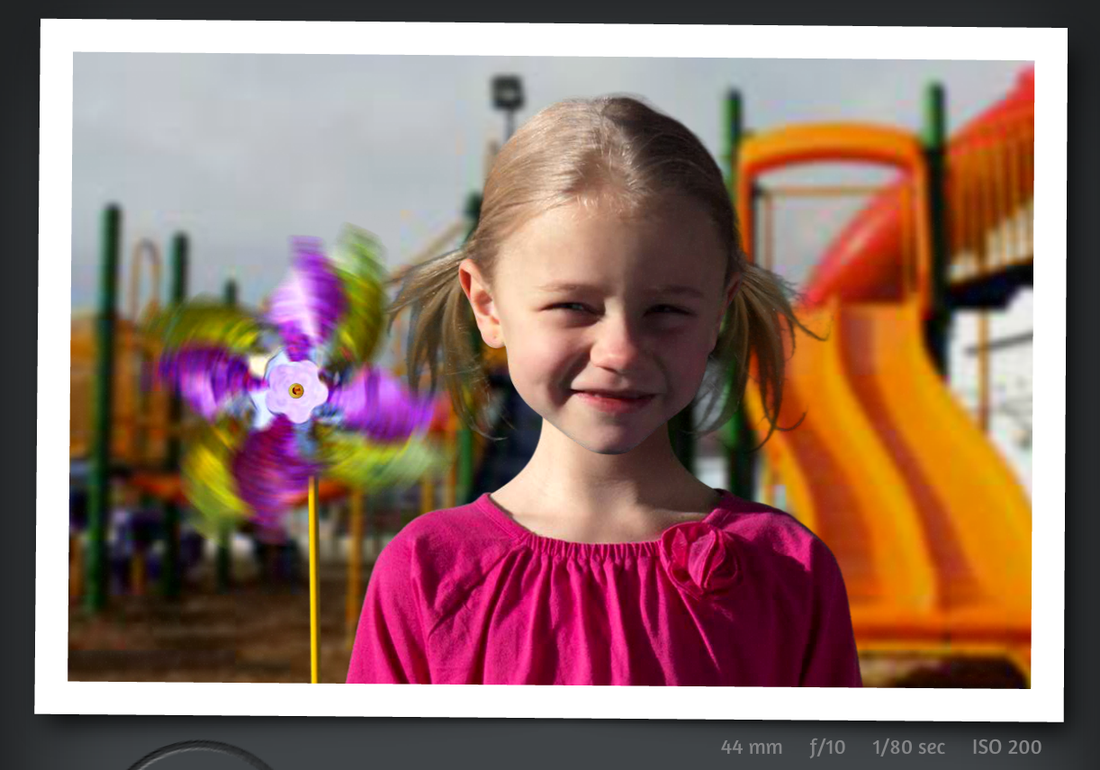
It was a rather windy day and Polly thought it was important that you knew that. In order to show the motion of her pinwheel the shutter speed of the camera was decreased to 1/80th of a second. Polly remains fairly in focus, but her pinwheel is a blur of colour. Perfect.
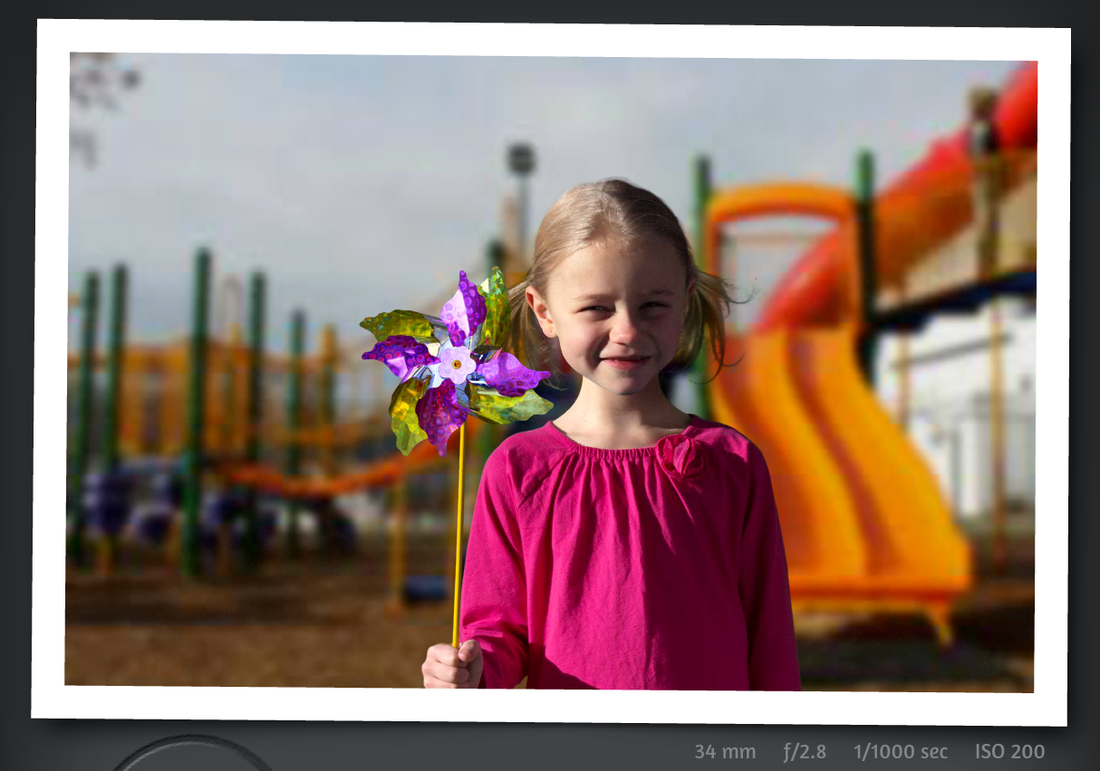
I wanted to mix things up and get a shot freezing the motion of Polly and her pinwheel. A shutter speed of 1/1000 sec got the job done. This one is going in the photo album at home! Thanks, Polly, for modelling !
